WIP: Dewoitine D 520 1/72 Hobby Boss Parte 2

Olá pessoal! Hello!
Dando continuidade as montagens aqui do blog, vamos avançar com o Dewoitine da Hobbyboss na escala 1/72.
Keep the bulding here on the blog, let's move forward with the Hobbyboss Dewoitine in the 1/72 scale.
Keep the bulding here on the blog, let's move forward with the Hobbyboss Dewoitine in the 1/72 scale.

As this is an "easy kit" we arrived at the painting part very quickly, already finishing some parts with putty and adding the black primer from AK Interactive.

O Primer preto pede pela técnica chamada "black basing" que nada mais é do que um "pré Shading" ao contrário. Nesses kits diminutos fica mais complicado fazer o efeito "marmorizado" ou "mosqueado" então a idéia é basicamente clarear a parte central dos painéis com branco ou outra cor clara.

Para esse kit usei o set de cores "Early ww2 French Air Force" da Hataka, usando as cores "Gris Bleu Clair", "Gris Bleu Foncé", "Vert" e "Brun Foncé". Achei as cores um pouco claras, mas com alguns ajustes no pós shading ficou bom.


Depois da pintura passamos para uma camada de verniz brilhante com X-22 da Tamiya e weathering.

Usei alguns produtos para essa parte, começando com panel liners até tinta a óleo com outros efeitos.


The black primer asks for a technique called "black basing" that is nothing more than a "pre Shading" in reverse. In these miniature kits it becomes more complicated to make the effect "marbled" or "mottled" so the idea is basically to lighten the central part of the panels with white or another light color.
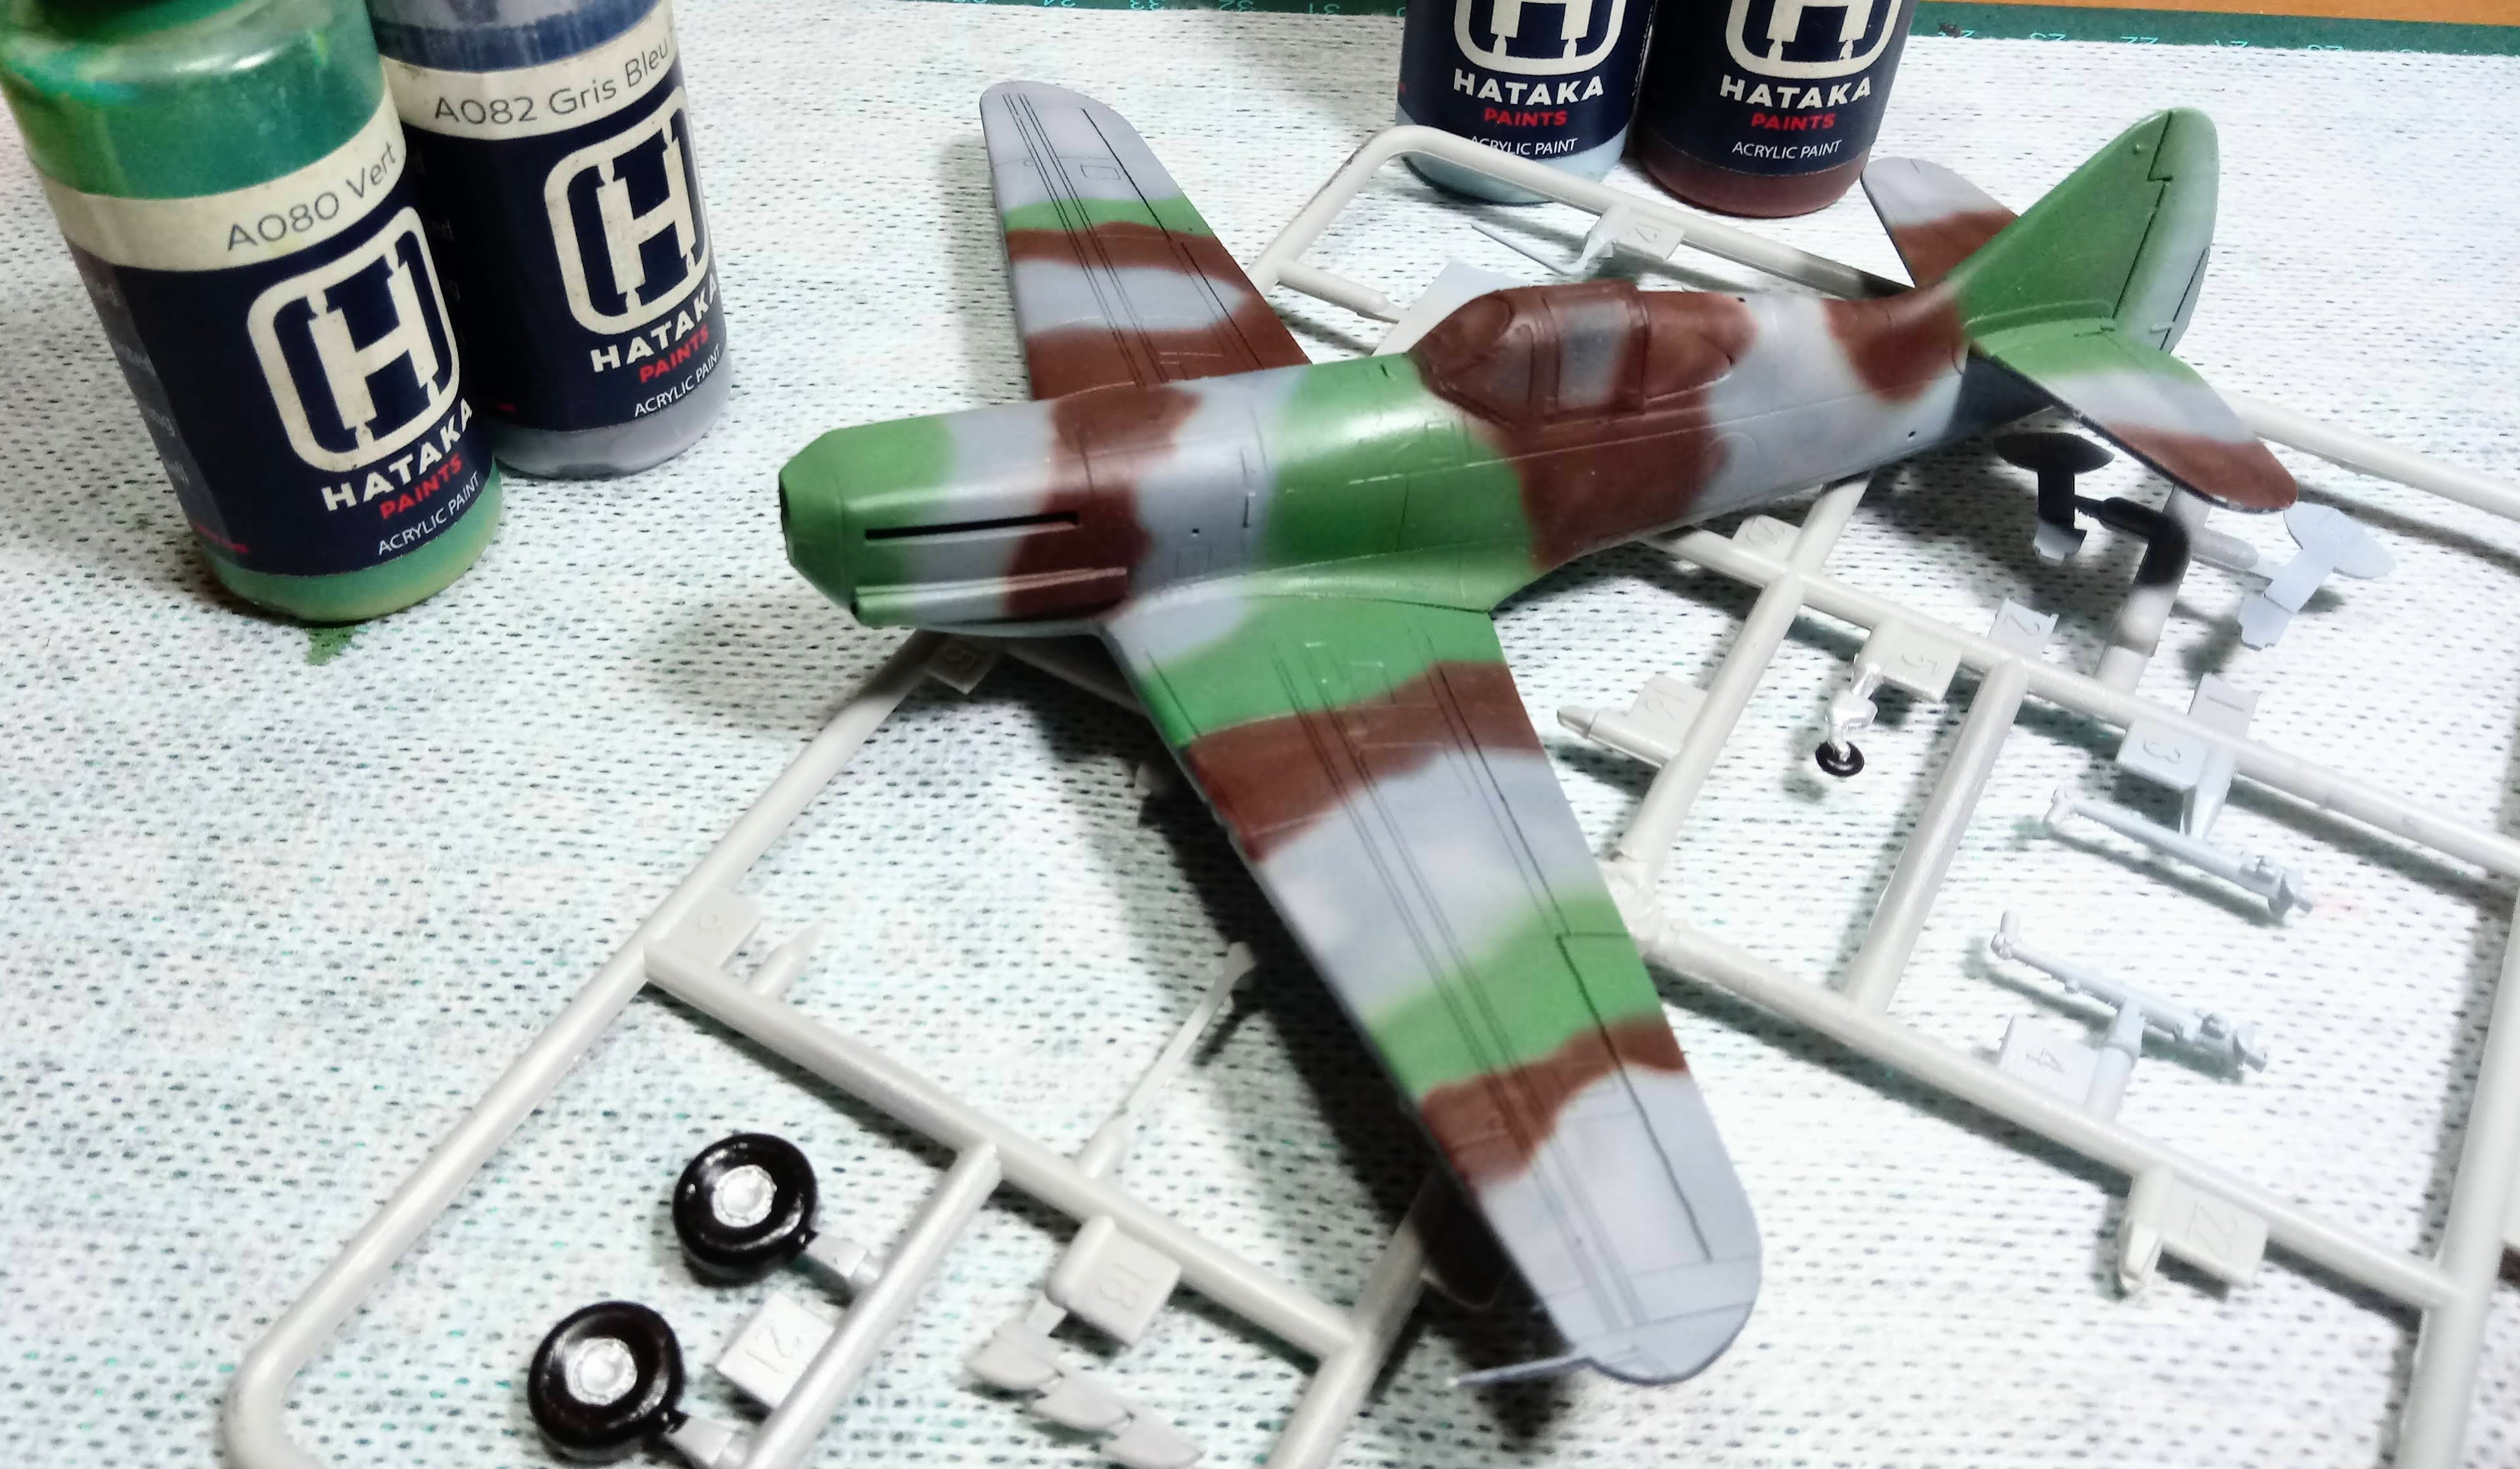
For this kit I used the color set "Early ww2 French Air Force" by Hataka, using the colors "Gris Bleu Clair", "Gris Bleu Foncé", "Vert" and "Brun Foncé". I found the colors a little light, but with some adjustments in the post shading it was good.

Inicialmente tentei fazer a camuflagem usando massa Multi Tack Pritt, mas não gostei muito do resultado, passando para a camuflagem a mão livre com um aerógrafo de traço fino.
Initially I tried to do the camouflage using masking putty, but I didn't really like the result, moving on to freehand camouflage with a thin line airbrush.

After painting, we moved to a layer of gloss varnish with Tamiya's X-22 and weathering.

I used some products for this part, starting with panel liners until oil paint with other effects.

Resolvi não fazer nada muito sujo nesse kit, usando tons mais claros nas linhas de painel e sujeiras mais localizadas. Agora é partir para a parte final!
I decided not to do anything very dirty in this kit, using lighter tones in the panel lines and more localized dirt. Now it's time to move on to the final part!
Links:


Comentários
Postar um comentário