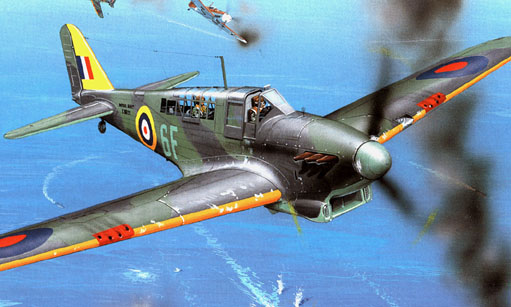
WIP: Fairey Fulmar Mk.II Vista 1/72 Parte 3
Olá amigos! Dear friends!
Voltando com o andamento do kit do Fulmar. Desde o último post a evolução do kit não foi muito grande, pois ainda temos alguns detalhes para resolver. Mesmo assim, me adiantei um pouco e fiz um pré shadding no kit, o que depois se mostrou realmente um pouco precipitado pois resolvi melhorar ainda algumas coisas no kit.
Coming back with the progress of the Fulmar kit. Since the last post the evolution of the kit was not very big, as we still have some details to solve. Even so, I went ahead a bit and did a pre-shadding in it, which then turned out really a bit hasty because I decided to improve some things in the kit.
Um dos problemas que percebi tardiamente é que a peça do canopy, por ser inteiriça fica muito complicada de pintar a mão, como normalmente faço. Então a solução foi mascarar todos os frames e instalar o canopy no lugar. Aí, que começaram os problemas, pois o encaixe da peça na fuselagem não é das melhores, então tive que colocar putty para corrigir as imperfeições e tome lixa!
One of the problems that I realized is that the canopy being molded in one piece is very complicated to paint by hand, as I usually do. Then the solution was to mask all the frames and install the canopy in place. Then the problems began, because the fitting of the part in the fuselage is not the best, so I had to put some putty to correct the imperfections and sand all over!
Antes disso passei uma mão de tinta Sky (Revell 59) nas superfícies inferiores do kit. Fazendo isso, descobri mais alguns problemas a serem corrigidos com mais um pouco de putty e lixa.
Before that I painted the Sky paint (Revell 59) on the lower surfaces. In doing so, I discovered some more problems to be corrected with a little bit of putty and sanding.
Agora é terminar esses acabamentos e partir para pintura!
Now is time to finish this retouchs and go to the paint job!


Comentários
Postar um comentário